There’s something magical about the nutty aroma that wafts through the kitchen when butter transforms into a golden, toasty dream. Known in German as Nussbutter and in French as beurre noisette, brown butter can add an extra dose of flavor to both sweet and savory dishes. Whether you’re drizzling it over pasta, folding it into cake batter, or using it as a base for sauces, learning how to perfect brown butter is a game-changer in the kitchen.
In this post, we’ll walk you through the steps for making and using the perfect brown butter. Get ready to fill your home with the warm, irresistible scent of toasted nuts and caramelized dairy.
1. What Is Brown Butter?
At its heart, brown butter is simply regular butter that has been heated until the milk solids caramelize. When this happens, you get those lovely brown specks that give brown butter its signature flavor and color. The flavor often gets described as nutty, toasty, and slightly sweet—a bold upgrade from the mild richness of plain melted butter.
2. The Science Behind Brown Butter
Butter is composed of three main elements:
-
Butterfat – the clear oil, which is about 80% of the total makeup.
-
Milk Solids – proteins and sugars, which are responsible for browning and caramelization.
-
Water – about 16–18% of butter is water.
When heated, the water evaporates, and the milk solids separate from the butterfat. As you continue cooking, these milk solids start to toast or “brown.” This process can happen quickly, so monitoring color, smell, and temperature is key.
3. Selecting the Right Butter
-
Unsalted vs. Salted: While you can use either, many chefs prefer unsalted butter for its precise control over the salt content. Unsalted butter also tends to have fewer additives, giving you a purer flavor and more predictable browning.
-
High-Quality Butter: Look for butter with a higher butterfat percentage. European-style butters often have around 82–86% butterfat, which means less water to cook off and more flavor to savor.
4. Step-by-Step Guide to Making Brown Butter
Step 1: Preparation
-
Use a light-colored pan or stainless-steel saucepan. A dark pan can make it challenging to see the precise color changes.
-
Measure out the amount of butter you need. If you plan to store some for later, you can make a larger batch in one go.
Step 2: Melt the Butter
-
Place your pan over medium heat.
-
Add the butter and let it melt slowly. You’ll notice bubbles and foam forming on the surface—this is the water evaporating.
Step 3: Watch and Stir
-
As the butter continues to cook, stir gently and consistently. Stirring helps the milk solids brown evenly and prevents them from sticking to the bottom and burning.
-
The color will change from pale yellow to golden, and the aroma will become increasingly nutty.
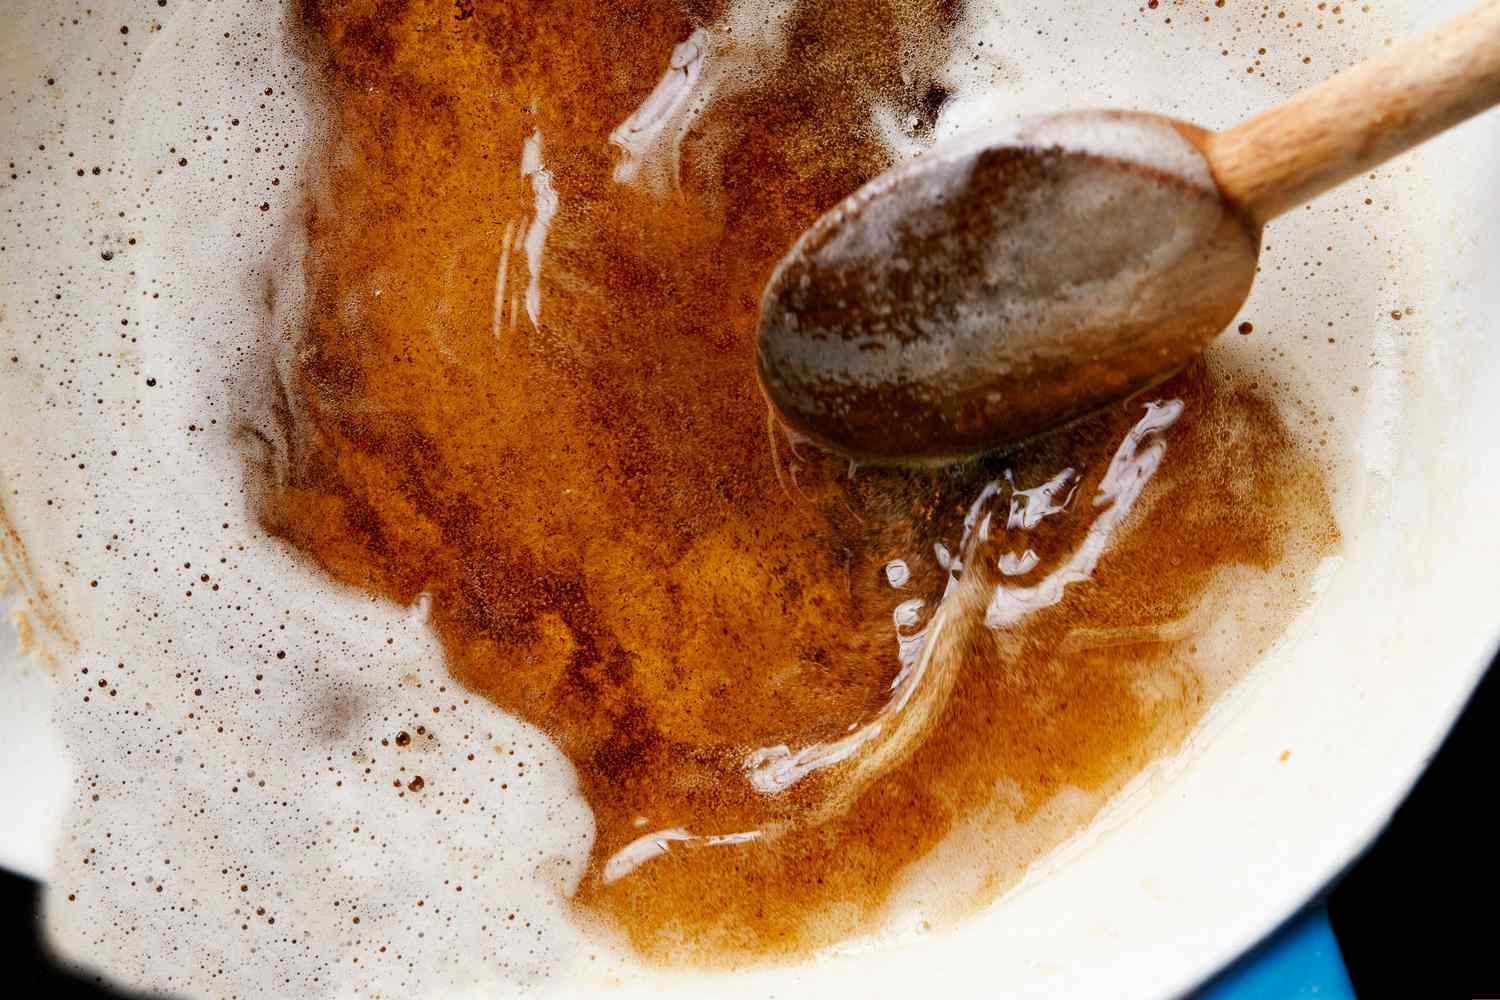
Step 4: Monitor the Color and Aroma
-
After a few minutes, you’ll see small, brown flecks appearing at the bottom of the pan. The butterfat will become a deeper shade of gold or amber.
-
Once you see the flecks turning light to medium brown and smell a distinct toasted-nut scent, remove the pan from heat. This stage is your target for a classic, nutty brown butter.
Step 5: Strain or Cool Down
-
Pour the brown butter into a heatproof bowl or container. If you like the toasted flecks, you can skip straining; they add a deeper flavor and interesting texture to dishes. If you prefer a cleaner, clarified appearance, strain it through a fine-mesh sieve or cheesecloth to remove the solids.
-
Let the butter cool for a few minutes. If you need to halt cooking entirely (and avoid it getting too dark), place the container in a cold water bath or transfer it to a cooler area of the kitchen.
5. Avoiding Common Pitfalls
-
Cooking Too Fast: High heat can cause the milk solids to burn before they have time to properly toast. A gentle medium heat is the sweet spot.
-
Getting Distracted: Brown butter can turn from perfection to scorched in a matter of seconds. Don’t walk away—keep an eye on both color and aroma.
-
Overcooking: If your butter moves past a rich amber to a deep brown or black, you’ve gone too far. It’s best to remove it from the heat once it reaches a toasty golden-brown hue.
6. Storing Brown Butter
-
Short-Term Storage: Keep brown butter in a sealed container in the fridge for up to two weeks. It will solidify but soften again when brought to room temperature.
-
Long-Term Storage: Brown butter can be frozen in an airtight container or freezer bag for up to three months. Thaw overnight in the refrigerator before using.
7. Cooking and Baking with Brown Butter
-
Pasta and Grains
Drizzle brown butter over spaghetti or gnocchi with fresh sage. The toasty notes pair beautifully with creamy sauces and add depth to simple grain dishes. -
Sauces and Soups
Use it as the base for a pan sauce or stir it into soups, such as butternut squash or creamy vegetable soups, for an extra layer of flavor. -
Baked Goods
From chocolate chip cookies and brownies to madeleines and pound cakes, replacing regular butter with brown butter brings out a caramel-nutty taste that can elevate everyday treats. -
Vegetables and Proteins
Sauté vegetables like green beans, asparagus, or mushrooms in brown butter. Or brush it on roasted poultry and fish for an irresistible, golden crust.
8. Embracing the Ritual
Brown butter making is a mindful process. Observing how the butter changes from one stage to the next engages all your senses: you see the shifting colors, smell the toastiness, hear the gentle sizzle, and eventually taste the delicious results. Allow yourself the pleasure of this culinary ritual; it can become a favorite part of your cooking routine.
Final Thoughts
Mastering the art of Nussbutter is all about patience and attentiveness. It’s a simple technique, but one that yields extraordinary results in flavor, aroma, and versatility. Once you get a handle on browning butter successfully, you’ll wonder how you ever cooked (or baked) without it.
Ready to try it out? Grab a high-quality butter, choose a light-colored pan, and watch as your butter transforms into a liquid gold that will elevate your dishes to gourmet status. May your kitchen be filled with the warm, nutty scent of perfectly browned butter—enjoy!
Comments (0)
No comments yet. Be the first to comment!